Either if you want to check how your website looks from random locations in the world, changing your real location can be a very simple task if you use a VPN. One of the tricky versions of this task, is to navigate through the TOR network. Tor consists of a huge proxy database that users can access to protect their network privacy and keep their online identity safe.
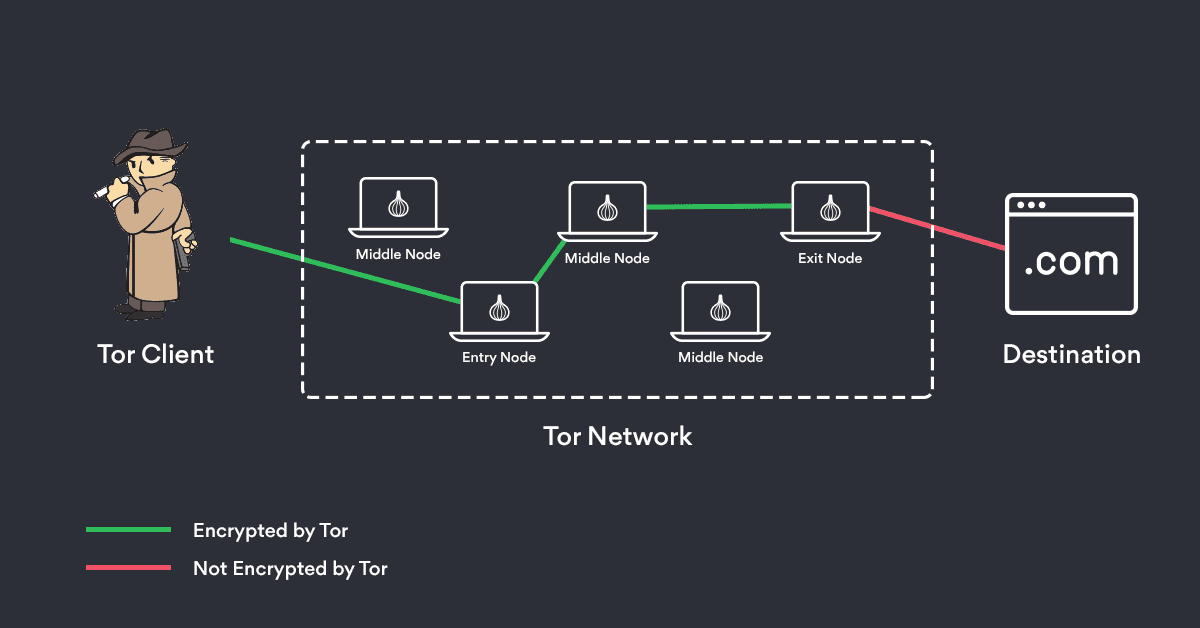
Tor works with Web browsers, remote login applications and instant messaging programs. Tor is an implementation of onion routing, which involves running an onion proxy on a user’s machine. The software is designed to negotiate a virtual tunnel through the Tor network by encrypting and randomly bouncing communications through relay networks across the globe.
Tor networks provide anonymity to applications such as Internet relay chat, instant messaging and Web browsing. Tor is conjugated with privoxy, a proxy server that provides privacy at the application layer:
In this article, we’ll explain you easily how to install and use the Torghost library to use TOR to go anonymous on the network.
1. Download and install Torghost
Proceed to clone the Torghost repository with the following command in some directory of your Kali system:
git clone https://github.com/susmithHCK/torghost.gitOnce the download finishes, proceed to enter into the cloned directory with:
cd torghost
And proceed to assign the proper execution permissions to the install script:
chmod +x install.sh
And run it directly to install what Torghost needs:
./install.sh
The installation script is composed basically by the execution of the following commands (if you don’t want to run the install script, you may install the libraries with the command directly):
echo "******* Torghost installer ********"
echo ""
echo "=====> Installing tor bundle "
sudo apt-get install tor -y -qq
echo "=====> Installing dependencies "
sudo pip install stem
echo "=====> Installing TorGhost "
sudo cp torghost /usr/bin/torghost
sudo chmod +x /usr/bin/torghost
echo "=====> Done "
echo "=====> Open terminal and type 'torghost' for usage "
echo "Any questions on cyber security? Join Hacker's QandA forum: https://www.askthehackers.com "
After running the install script, you will have torghost available from your terminal (or use the torghost binary to run the commands of the tutorial laters). For more information about this script, please visit the official repository at Github here. This tool offers:
- Redirection of all network traffic to the TOR network, that is, any connection of the computer that tries to connect to the Internet will pass through it.
- No ping will be filtered, which protects our identity.
- Force to the applications to circulate through it, unlike proxychain, that is ignored by some applications that tend to a faster connection ignoring the proxies.
- Reject incoming and outgoing requests that may contain sensitive information or may reveal our real IP.
- DNS leak protection, we can use an anonymous remote DNS.
2. Using Torghost to go anonymous
The tool offers basically 3 functions:
torghost start: starts routing all traffic through the TOR network.torghost stop: stop routing traffic.torghost switch: change the current IP.
You only need to start a new terminal and run the following command to get started with the tool:
torghost start
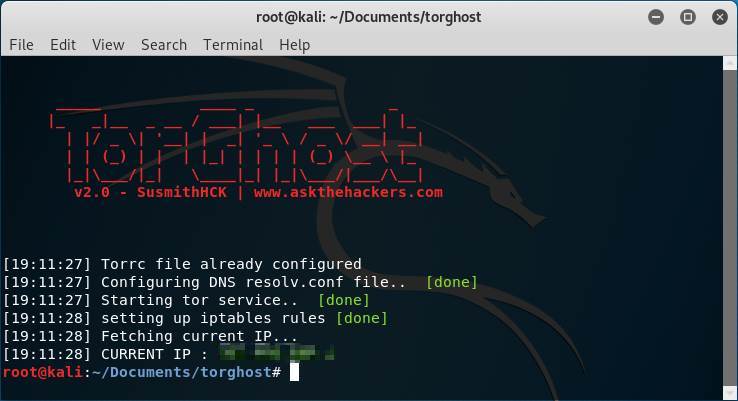
In the terminal the output will look like:
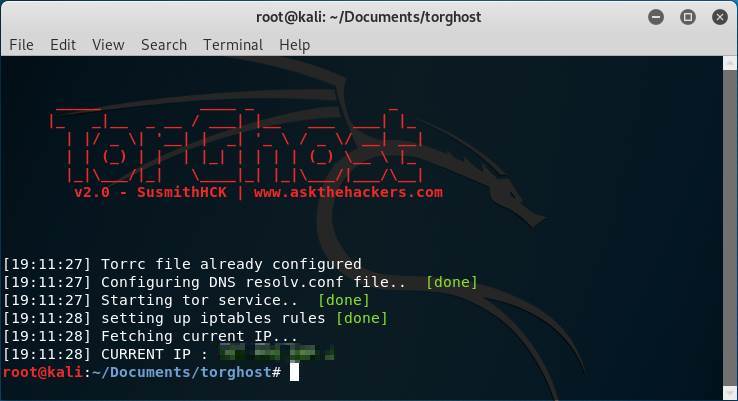 If we open one of those websites that show you the current IP address and your location after starting torghost, for example in this case we will get instead of our real location (Colombia):
 According to the website, we are in germany. You may want to change the IP when you want, either stopping and starting torghost again, or just run:
torghost switcThe output of the command in the terminal will look like:
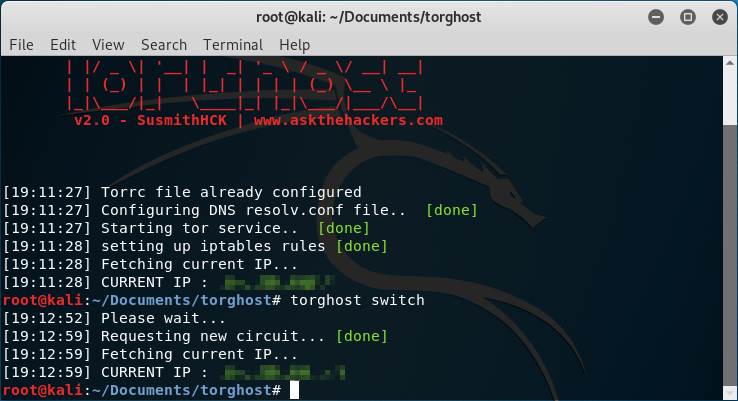 This time, in another website they tracked us down in Brazil:
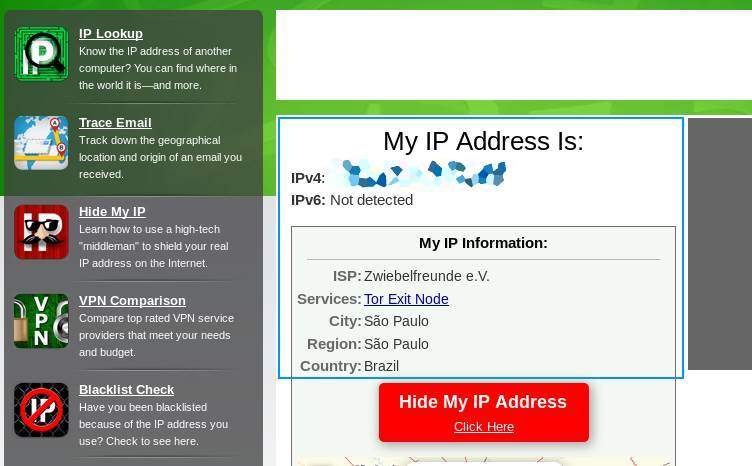 Great isn’t !? In this way with this simple tool, you may change your location within seconds inside the tor network. Once you’re done with your things, simply stop the tool with:
torghost stop
The output of the command in the terminal will look like:
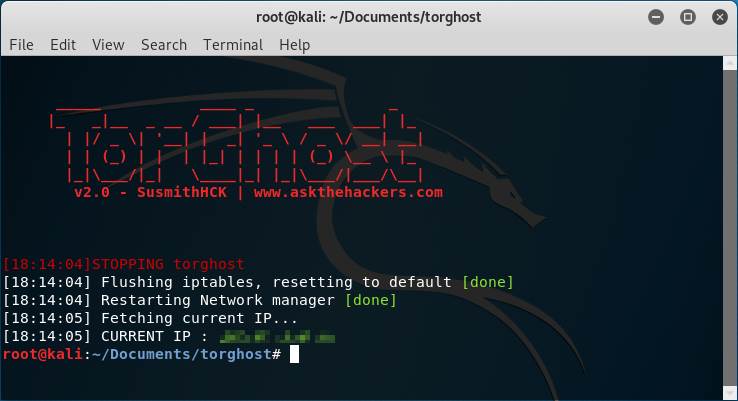 Torghost will start flushing the iptables, restart the network manager and fetch the real IP and that’s it.




I’m a little new to kali, i followed the instructions as it said but when i get to the “chmod +x install.sh” it always tells me it cannot access, no such file/ directory. anyone know what i’m doing wrong?
Hi, did you grab the https://github.com/susmithHCK/torghost.git and cd into the directory before you entered the command.